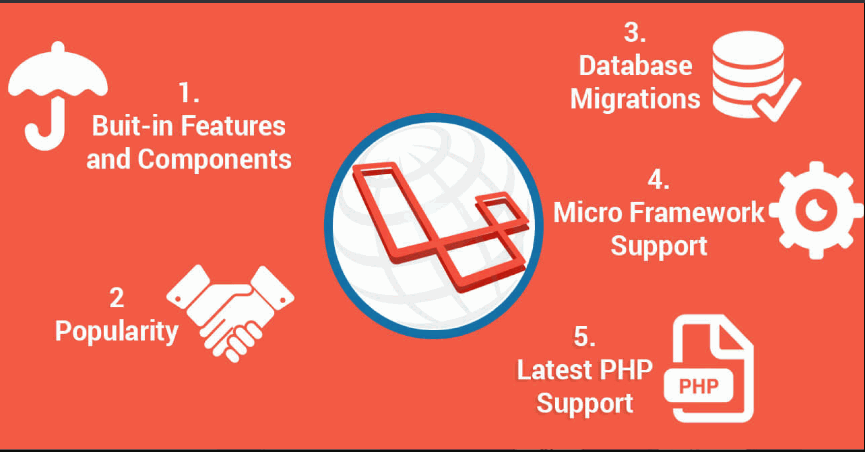
Laravel CRUD (Create, Read, Update, Delete) stands as a primary requirement for any Laravel Small or big Web application. Beginner to Laravel, developers must first learn simple step by step Insert Update Delete – CRUD operations as they are fundamentals of any Laravel web application.
CRUD Operations in Laravel PHP Framework
There are lots of the CRUD generator packages of Laravel available on GitHub. But if you haven’t any primary Understanding about system requirements, how it works, it would be of no use to you. You could only master these great packages once you know how to work with CRUD manually on Laravel.
So in this lesson, We will show simple Laravel CRUD (add edit delete) operations step by step including all Employee record listing, Employee record inserting, Employee record updating and Employee record deleting.
Prerequisite
For the intention of this lesson, We require that you have a Laravel Project Web application installed on a web server. Below setup is:
- PHP 7.x
- MySQL
- PHP >= 7.2.5.
- BCMath PHP Extension.
- Ctype PHP Extension.
- Fileinfo PHP extension.
- JSON PHP Extension.
- Mbstring PHP Extension.
- OpenSSL PHP Extension.
- PDO PHP Extension.
Laravel – Installation

- download composer to install it on Computer System
- Run Composer command in the Terminal(CMD) Composer
- Create a new directory and Run command
composer create-project laravel/laravel –-prefer-dist
- installation of Latest version. In Laravel new version
composer create-project laravel/laravel test dev-develop
- run Laravel project with several commands
php artisan serve
Laravel Application Directory Structure
Direcctory Structure:
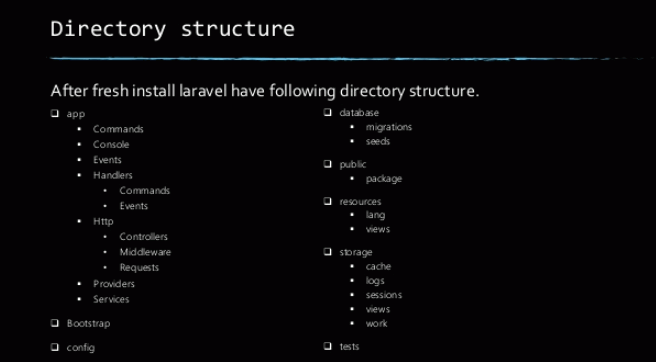
- app folder
- bootstrap folder
- config folder
- database folder
- public folder
- resources folder
- routes folder
- storage folder
- tests folder
- vendor folder
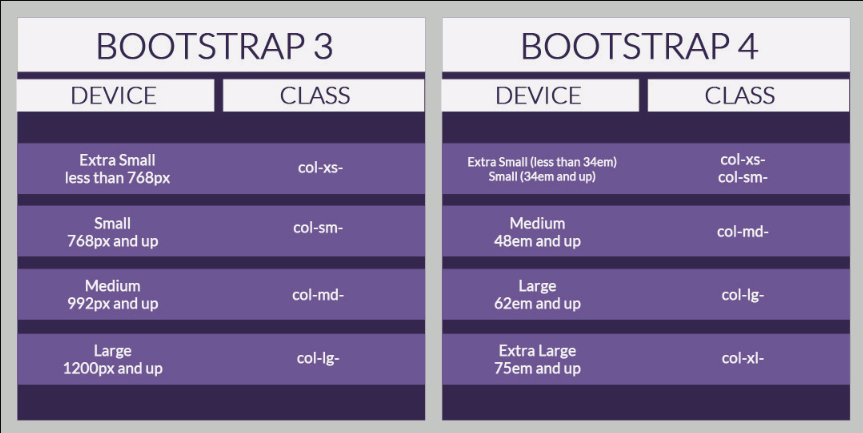
What is Bootstrap 4?
Bootstrap 4 is the latest version of Twitter Bootstrap which is a CSS framework that allows web developers to professionally style their web interfaces without being experts in CSS.
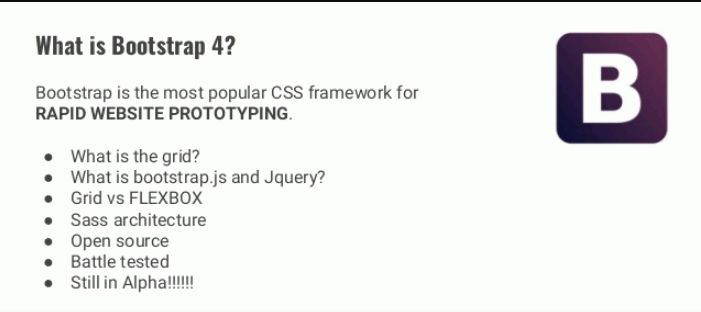
Bootstrap 4 is based on Flexbox and allows you to build responsive layouts with easy classes and utilities.
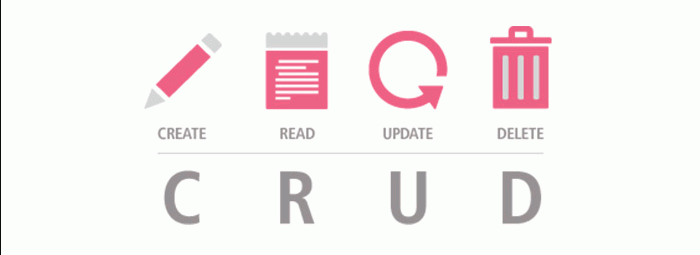
What is CRUD?
CRUD stands for Create, Read, Update and Delete(Insert Update Delete) which are operations needed in most data-driven apps that access and work with data from a MySQL database.
In this example, we’ll see how to impelement the CRUD(insert update delete) operations in Laravel 7/6/5 against a MySQL database.
Laravel 7 New Features
Laravel 7 conduct many new features such as:
- Laravel Airlock: An official package for API authentication,
- Custom Eloquent Casts: They allow you Included your won custom casts,
- Blade file Component Tags & Improvements: Allows you to create class-less components,
- HTTP Client: An API for making HTTP requests,
- CORS support by default i.e without third-party any plugins,
- Route Caching Speed Improvements, etc.
For optimized developer stack, I have installed my Laravel application on a Cloudways: Managed Cloud Hosting Platform managed server. You can also sign up for a free Cloudways: Managed Cloud Hosting Platform Web Hosting for PHP easily and can set up your application within a few minutes.
Step 1: Laravel CRUD Database Configuration
Using Cloudways: Managed Cloud Hosting Platform, the MySQL database configuration variables are already set up in .env File and database.php file. But if you want to use another MySQL database then you could do so by updating its default configuration in both files.
DB_CONNECTION=mysql
DB_HOST=127.0.0.1
DB_PORT=3306
DB_DATABASE=
DB_USERNAME=root
DB_PASSWORD=
Step 2: Create Employee Table
And then successfully configuring the MySQL database, now we will move towards creating a employee table. But before creating a employee table, first create the migration for a Database table by executing the below command:
php artisan make:migration create_employees_table
And then update the below source code into created migration file.
public function up()
{
Schema::create('employees', function (Blueprint $table)
{
$table->increments('id');
$table->string('title');
$table->text('description');
$table->timestamps();
});
}

/**
* Reverse the migrations.
* @return void
*/
public function down()
{
Schema::dropIfExists('employees');
}
And then run the php artisan migrate command to setup table into the MySQL database.
Step 3: Migration with Create model or controller
And then create the migration with model and controller of a specific table by just entering the below given command in SSH terminal.
php artisan make:model Employee -mcr
Step 4: Setup Model
And then open the employee model and copy & paste the below array in employee.php file.
protected $fillable = [ 'title', 'description'];
Step 5: Controller
After successfully setting up model, now open the employeeController.php file and change all the functions according to their function names like update store, edit or destroy functions.
Employee Controller index()
Simple Copy and Paste the below source code into index() function.
public function index()
{
$employees = Employee::all();
return view('employees.index',compact('employees',$employees));
}
Employee Controller create()
After that copy the below code and paste into create() function.
public function create()
{
return view('employees.create');
}
Employee Controller store()
To insert Store data into the MySQL database, copy paste the below source code into store function.
public function store(Request $request)
{
// Validate
$request->validate([
'title' => 'required|min:3',
'description' => 'required',
]);
$employee = Employee::create(['title' => $request->title,'description' => $request->description]);
return redirect('/employees/'.$employee->id);
}
Employee show()
public function show(Employee $employee)
{
return view('employees.show',compact('employee',$employee));
}
Employee Edit ()
public function edit(Employee $employee)
{
return view('employees.edit',compact('employee',$employee));
}
Employee Destroy()
public function destroy(Request $request, Employee $employee)
{
$employee->delete();
$request->session()->flash('message', 'Successfully deleted the employee!');
return redirect('employees');
}
Step 6: Create View Laravel – CRUD
To complete the layout view of CRUD(insert update delete), create the view files with the name create.blade.php, edit.blade.php, index.blade.php, and show.blade.php. Also Use Twitter Bootstrap v4 for creating a user friendly layout views consistent.
Create.blade.php
@extends('layout.layout')
@section('content')
Add New Employee
@endsection
Step 7: Show View
@extends('layout.layout')
@section('content')
Showing Employee {{ $employee->title }}


Employee Title: {{ $employee->title }}
Description: {{ $employee->description }}


@endsection
Step 8: Edit View
@extends('layout.layout')
@section('content')
Edit Employee
@endsection
Step 9: Delete
Step 10: Routes
Here, I need to add All the required route for Employee crud application. so open your “routes/web.php” file and add below route.
Route::get('/', function () {
return view('welcome');
});
Auth::routes();
Route::get('/home', 'HomeController@index')->name('home');
Route::get('/create','EmployeeController@create');
Route::get('/employee', 'EmployeeController@index');
Route::get('/edit/employee/{id}','EmployeeController@edit');
Route::post('/edit/employee/{id}','EmployeeController@update');
Route::delete('/delete/employee/{id}','EmployeeController@destroy');
Final Conclusion
So in this Laravel Source code, We have demonstrated in information how to develop a simple CRUD(insert update delete) Web application in Laravel. It covers step by step Full information of all steps from the MySQL database to configuration to setting Database table migrations as well as creating views Layouts. Basically, CRUD(add edit delete operations) holds a very serious importance for any web developer as it completes the fundamental operations (Create, Read and Update) of the application.
Still, if you have any further questions or issues about this Laravel Source code, feel free to share your any types of the comments in the below comments section.
Web Programming Tutorials Example with Demo
Read :
Summary
You can also read about AngularJS, ASP.NET, VueJs, PHP.
I hope you get an idea about laravel crud.
I would like to have feedback on my infinityknow.com blog.
Your valuable feedback, question, or comments about this article are always welcome.
If you enjoyed and liked this post, don’t forget to share.