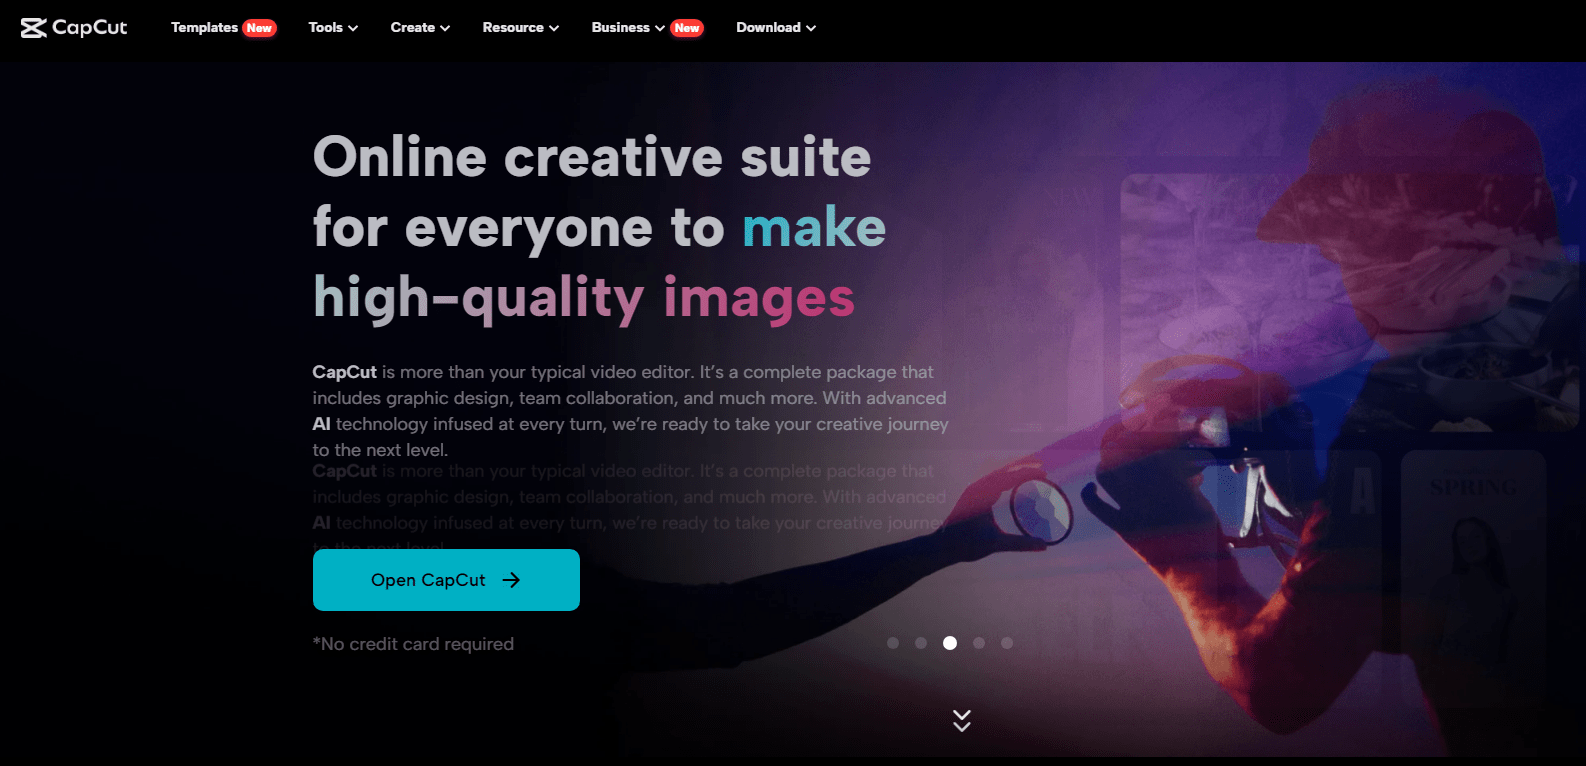
Transforming your visions into reality has never been easier than it is today. This is mainly because of the latest and incredible technology that caters to the effortless and faster editing process. You can create anything you want when it comes to visuals. Artificial intelligence is what contributed to this. The large training data and accurate output with the minimum possible human intervention have played a greater role in this regard. A practical example of this tool or editor is the CapCut creative suite.
The suite contains an online photo editor along with an online video editor. This collection of CapCut tools exists online and is free for everyone to access and use. The level of experience or knowledge you need to use the CapCut creative suite is negligible. It features a horizontal learning curve. Beginners and pros can both take the most out of this tool in one place.
Let’s dive right into this article to uncover more about the usage process and the top features.
Key Features and Advantages of The CapCut Creative Suite
Several elements contribute to the real worth of the CapCut creative suite. This section will throw light on the top features such as:
Resize Media On The Go
This feature is crucial for the image editors. If you forget to choose the appropriate size before the editing of the image, then no worries. You can convert or resize any size at any stage of the editing. The end changes you will get will be as per your original design. This includes even the placement and location of the objects or elements within the image. You don’t need to wait longer. Just within a few seconds, you can resize your images.
Limitless Media Files
You can get the extensive library of the media when it comes to the CapCut creative suite. No matter what category or niche you want to use the media. You can get all of it, such as intros, outros, nature, sports, disaster, etc. Every type of media is present in the media library. Wondering what makes this media stand out for you to use in your videos? The main reason is the copyright-free availability. Anyone can use this in the videos. Both long and short-form media exist in the library of the CapCut.
Replace/Remove Background
Using either the online image or online video editor, you can replace or remove the background as per your requirement. To do this task, you don’t need to remove the elements or objects manually. As in Adobe Photoshop, this process takes a lot of effort and time. But when you are using the CapCut creative suite option, remove the background and replace it with any background you want. CapCut also offers copyright-free images that you can use in the environment when using this collection of tools.
Collage Feature
For both the video and image editors, you can make use of the collage option. There are different collages for two, three, four, or five files. You can choose anyone depending on your needs. This allows you to select three or more files at the same instant and highlight the credentials. You can divert the attention of the audience towards a specific point using the collage. This will also allow you to hook the readers for longer towards the images or videos.
Freely Convert Text To Speech
In case you have the text file, you can convert it to speech to address your audience. There are several voices or audios to choose from when using this tool. You can also save the speeches for your record. This is effectively beneficial for businesses that carry out frequent meetings and also effective for the educational sector. You can convert as much text to speech as you want. The text-to-speech is completely free, and anyone can use it without any subscription or payment. This feature of the CapCut creative suite helps you save a lot of time as you don’t need to type manually.
Improve Your Design With Shapes
Many shapes exist when using the CapCut creative suite. You can create the design from scratch using a plethora of shapes. Apart from this, there are also frames present in various shapes. So, if you want to insert the profile picture within the design. Then, you can insert the photo frames. These shapes make your design stand out from the rest. If you don’t find the particular shape that you want to use. Then, an option exists to create the custom shape with the lines existing on the tool interface.
Design Embellishment
The CapCut creative suite allows you to elevate the editing game by using various gadgets. Some of the devices include text insertion. This way, you can deliver the message to even those people who cannot hear. Using stickers allows you to make the design of the video or image files pop up. Apart from this, you can also use effects to make the fine details pop up in your design. Whether you are doing this for advertising or message conveyance, you can achieve a higher success rate.
Step By Step Tutorial on CapCut Creative Suite Usage

- The process begins with the signup, but before doing that, you need to get to the CapCut Creative suite online website. You do so by searching the CapCut on the Google search bar. After that, access the CapCut website. Later, go to the main menu bar of the site and click on the Tools section of the site. Doing so, you will see a menu bar pop up containing access to a variety of tools. From this window, select the editor category section and go to the Online Creative Suite. Begin signup either using your TikTok account, google account, or Facebook account.
- When you have finished signing up, now comes the file upload. You can also start with the new file from scratch using your imagination or readily available templates. To upload the file, just click on the upload tab. This will allow you to either drag or drop the file or select the file from a particular location within your system.
- Now, after you have uploaded the image or the video file that you want to edit, proceed to the editing part. Determine or find out what you want to change. After that, deal with the tweaking using the available functions and tools.
- The last step in the CapCut creative suite toolkit is the downloading of the file. You can do so by just accessing and clicking the Export tab. This tab will open up a menu that allows you to change the image/video quality, size, and format. Dealing with these changes, you can download the file in the end.